Hand Tools and Fabrication
This week, we were tasked with designing and building a kinetic sculpture, using circuitry to control the motion. Immediately after hearing the premise for this project, I wanted to design some sort of music box that would play a song and spin when opened. To get this machine running, I was gonna have to figure out how to build the motion, the sound, and the connection between the two.
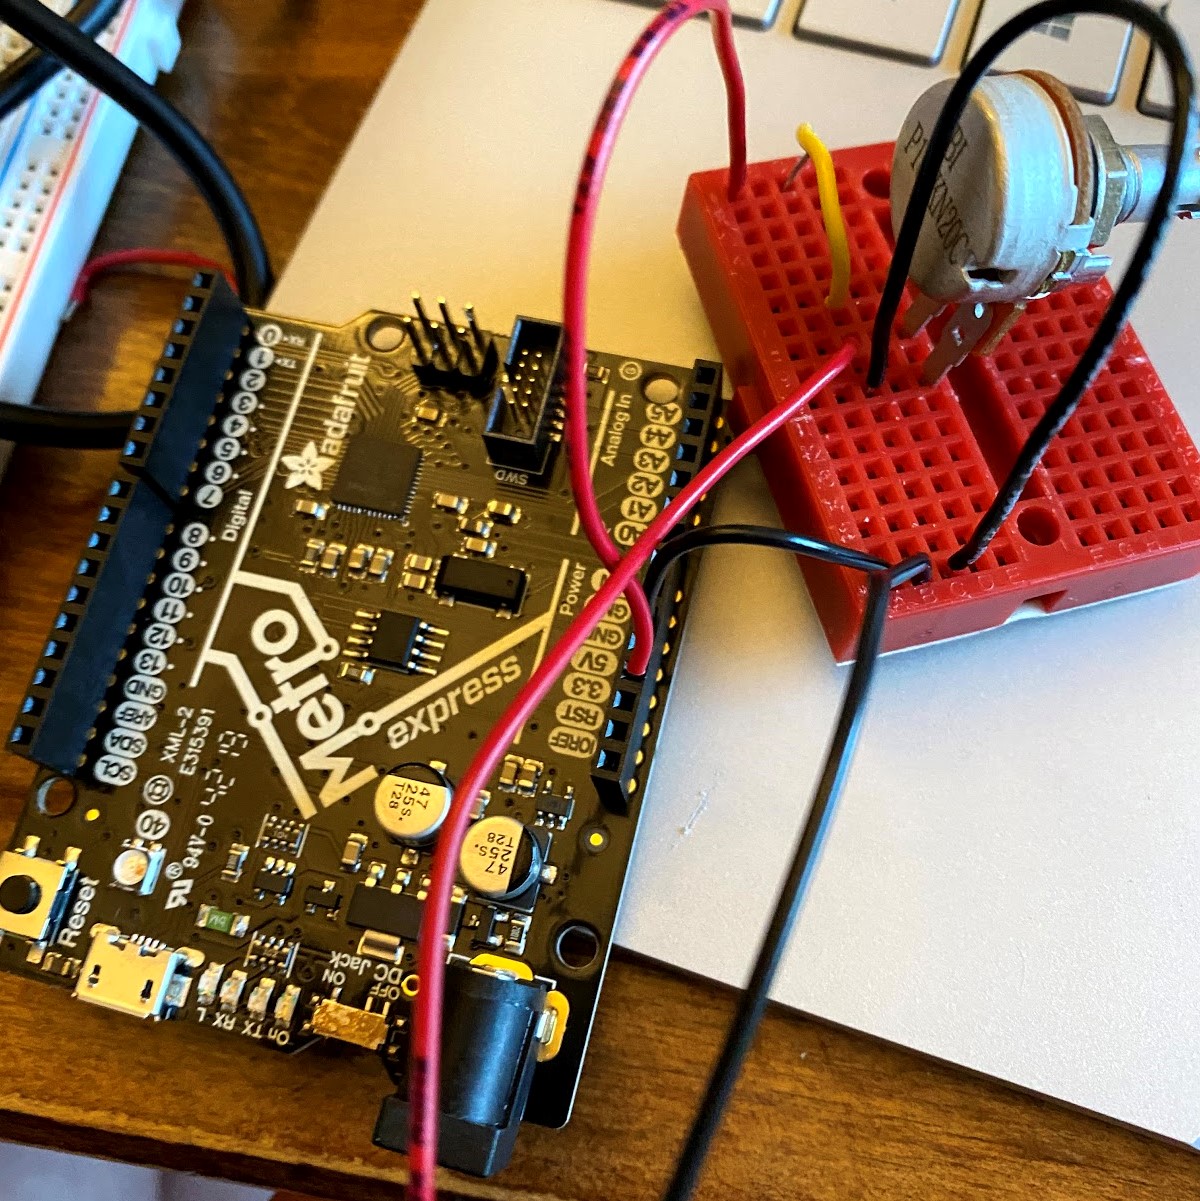
I started with the motion. For this design, all I had to do was build a circuit in a compact way so that I could control my motor spin speed with the POT while having everything fit in the box. Pictured here is the design I came up with. It's analogous to the circuit we built in class, but on a smaller board using this particular board's mechanics. We note that the voltage changes from 1.71 to 1.68 V with the motor added, meaning the motor absorbs .03 V. Now I needed a sculpture to spin! I wanted to create some sort of gear based motion, where I could have a few arms joined together to move my sculpture along a set path. I decided on the classic ice skater figure eight pattern, but with something else gliding around on top.
Without access to any means of physically creating the gears I would need, I decided to digitally design this path and physically just attach my sculpture to the motor for a stationary spin.
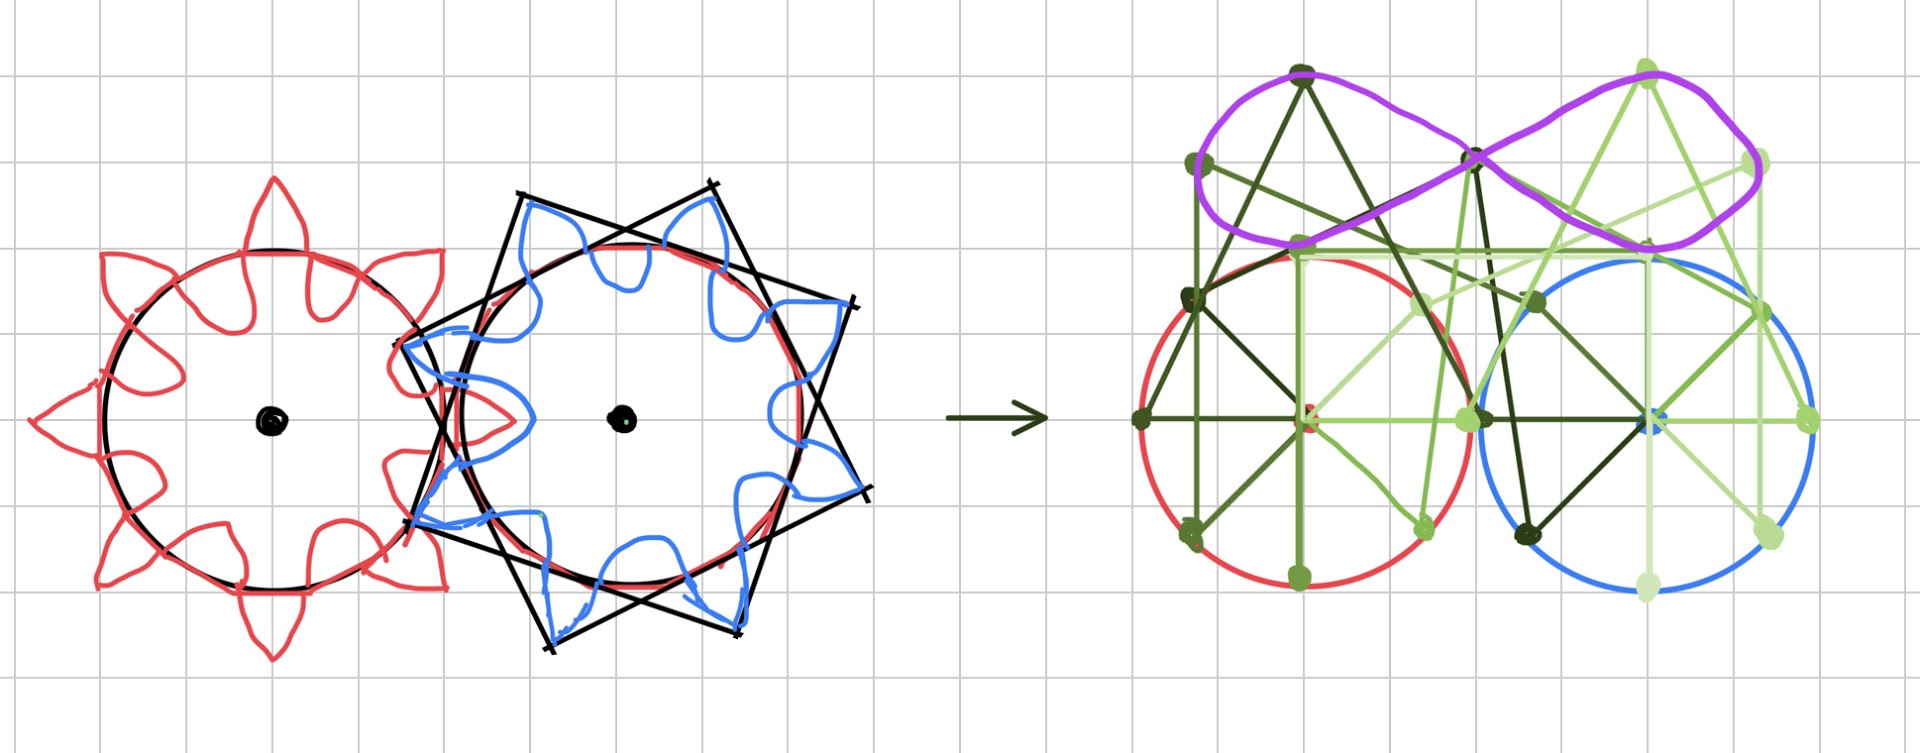
First, I drew a motion map for my gears, where each increasingly lighter shade of green represents a different point in time of gear rotation, and the purple is the path of the arm joint where I'd attatch the sculpture.
For the actual gear design, if my finger weren't a piece of toast, I could model a dodecagon and add teeth points on the alternating faces, cut out the spindle of the motor from the center, and project the entire image to the correct thickness in fusion 360. With the gears completely designed, I can now make my sculpture!
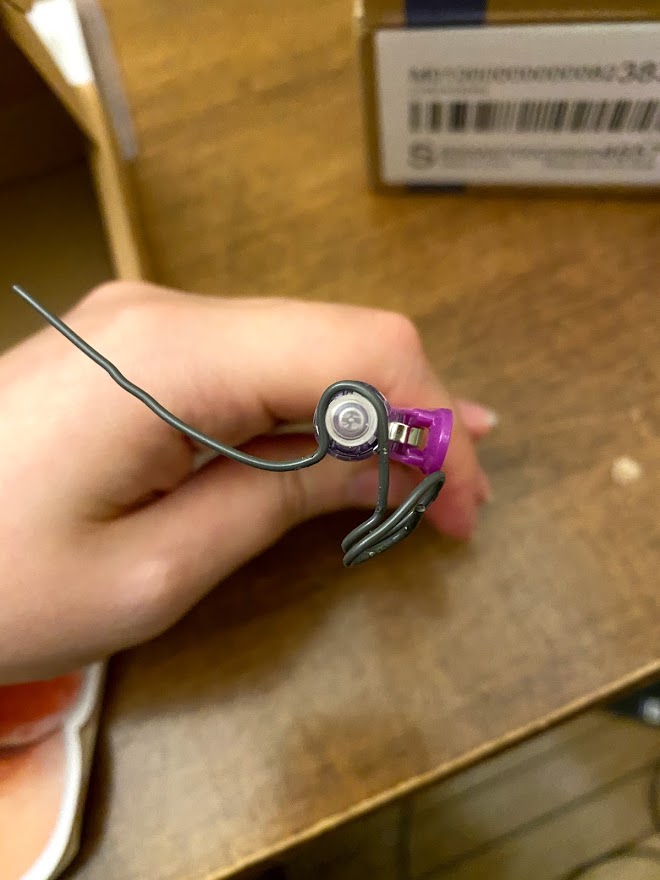
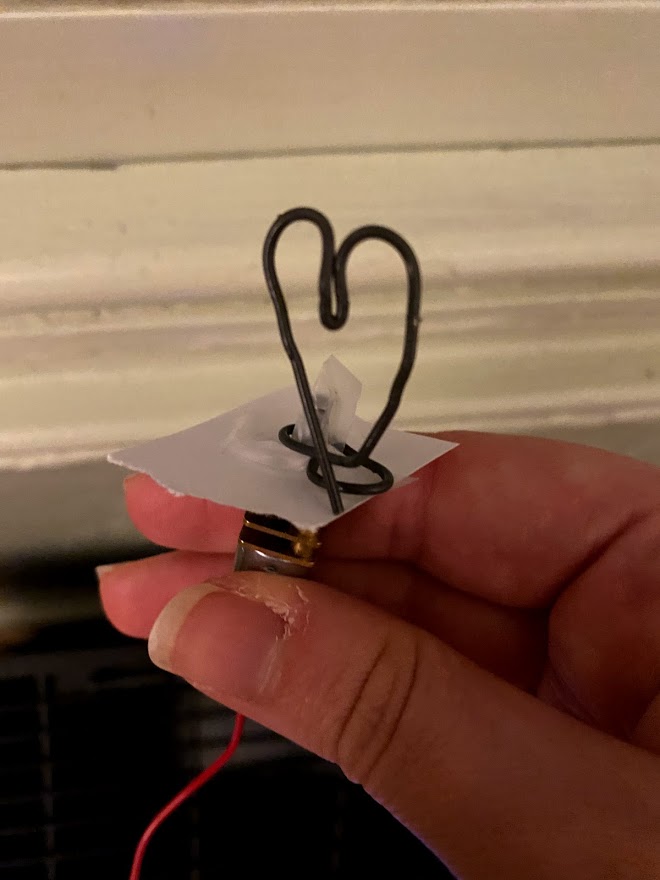
Looking around my dorm, I found that the plastic-coated paperclips in my desk drawer would be a great medium to sculpt a figurine! The wire was quite tough, so I bent it into a heart shape using pliers and the clicker of my pen. It turned out really nice! I attached it to the motor by stapling it to a piece of paper that I then poked through the base and taped in place. Not the most elegant solution, but I'm working with what I have!
Now that I have the motion working, how could I incorporate sound? I had no idea what to do, so I went to CVS for some Cheez-It's as I brainstormed. I found my answer at the cash register. Musical cards only sing when you open them! So, I picked up this little guy and headed home. The tune is, albeit, different for a music box, but I think that adds to the charm. Also, now you will forever have this hot dog balloon man burned into your eyes when you hear the box play, so I think that's a plus.
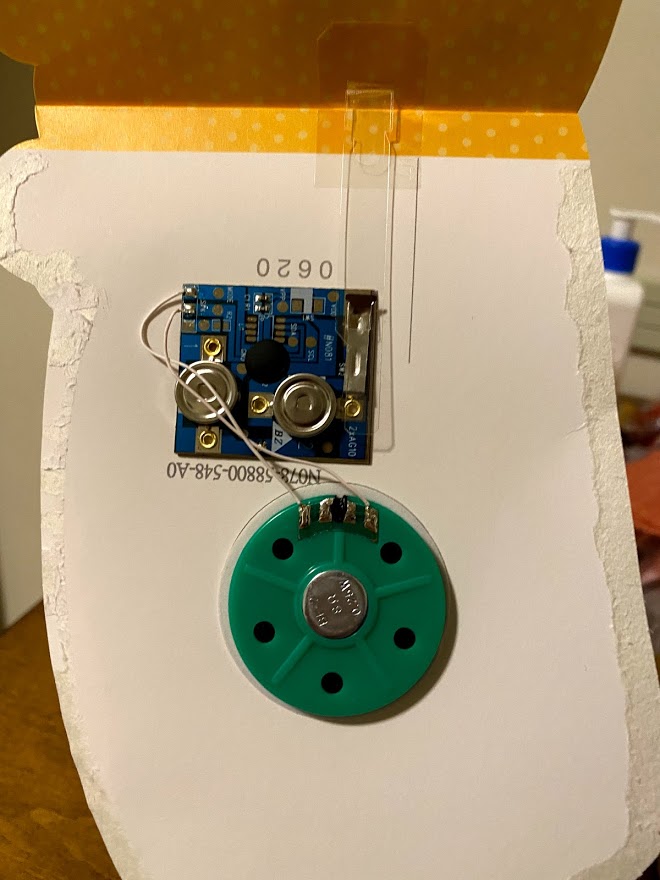
As much as I enjoyed my musical frank, I needed to investigate how exactly this circuitry works so I could hook my motor to it. So, I tore it apart. RIP. While I mourned my loss, I noticed that the circuit board connects to the speaker at the two bottom corner leads, providing it power only when the plastic lever attached to the top of the card is pulled out from between the metal road and the metal base on the circuit board. So, it follows that if I connect my motor at this joint, then I will have a motor that also only spins when the speaker can play! To test this theory, I hooked up an LED to these nodes. As expected, it only flashed when the song was playing. So, I hooked up the motor in the same fashion, only to discover that the current between these two nodes was less than the current that the motor needed to run. Because we don't know the power of these motors, we can only express the current in terms of power, so the motor requires a current of 0.03/power amps to spin.
To fix our power problem, I added a AA battery to the circuit, putting a resistor between one of the speaker nodes and the battery to prevent backwards flow into the speakers after the song has stopped. Unfortunately, My scotch tape/electrical tape wasn't holding properly, so I pulled out the resistor to film this video. You can see why the resistor is so important, because otherwise the motor will keep spinning as long as the plastic piece doesn't cut the circuit connection. With that, my sculpture is almost complete. All that's left for me to do is put everything in the box and try it out!
I look forward to finishing everything up once my hand is better!
© Lauren Cooke 2021