3D Design and Printing
This week, we worked with photogrammetry and 3D modeling to start 3D printing. First on the docet was to scan something using a photogrammetry app. I chose to use Qlone, mostly because it was the only app that permitted me to export any sort of result from the app without having to pay. I chose to model something small, because I needed to fit an object on the provided printout mat that would not obscure the corners of the surface. So, I chose my chapstick.
To do this, I placed my chapstick on the mat and spun my phone around the entire object until the app told me that it had captured every single point on the hemisphere of my object. This process was quite frustrating, and it took me multiple tries to get something remotely decent. But, after a few tries, I managed to scan what I could only describe as the Roblox version of my chapstick. You can certainly tell what it is, but the shape is quite...crude to be honest.
My next task was to start modelling for my final project. Right now, I am really intrigued by this funky water bottle humidifier that, in addition to sensing humidity and detecting certain sounds, will spray water at you if it hears you cough or clear your throat. To do this, I plan on rigging a spray bottle from the drugstore, so I am not really set on what or if I will need 3D modelled parts. Thus, I don't exactly have any models to share. I am still brainstorming though, so if I discover that I would benefit from a 3D modelled part I will definitely add it here.
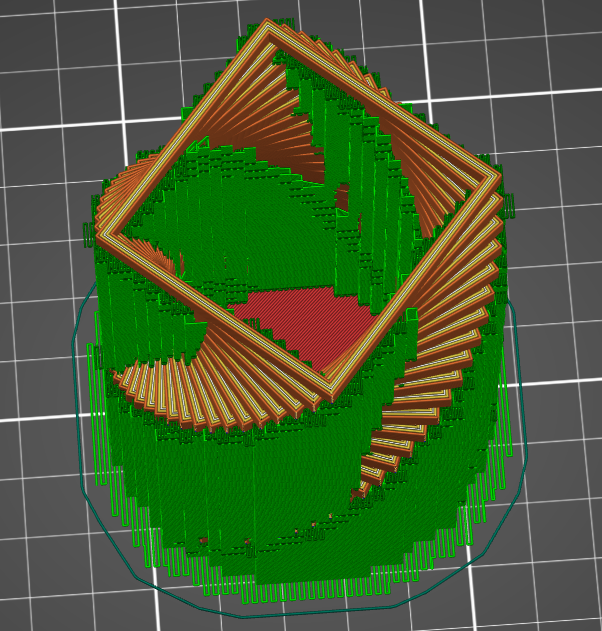
Now, for my printed object, I could finally go back to my initial design idea of a rotating square vase and print it out. I started with the general design from week 2. Like I said in my week 2 writeup, trying to design a piece like this using laser cut parts would not work without hand-cutting grooves into the z-axis of the walls. Using a full 3D model and printing it out, I could rotate the walls without having to worry about the whole structure disassembling by layer because the plastic would be bonded together in the location I wanted.
Similar to my first week 2 sketch, I started by sketching the square base on fusion 360. I set the wall thickness, layer height, and side rotation angle to parameters in my project, allowing the entire thing to be scaled as needed with ease. In my planar sketch, I created a center point in the square, and an inner square to mark the end of the wall area. From there, I extruded the inner base as one body before extruding the first wall layer as its own body. With this first body extruded, building the next wall segment simply was a matter of copying.
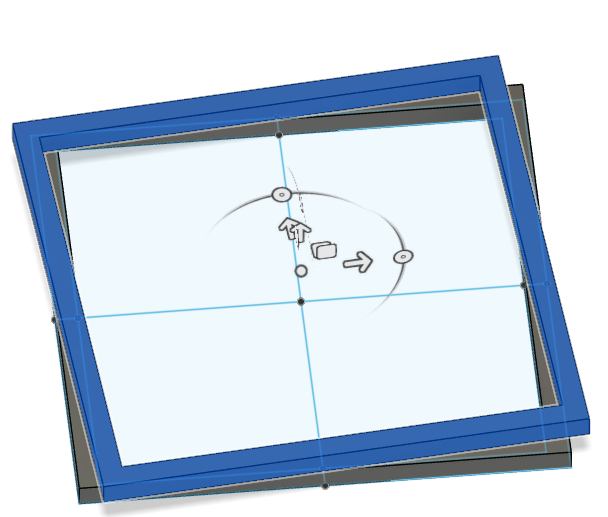
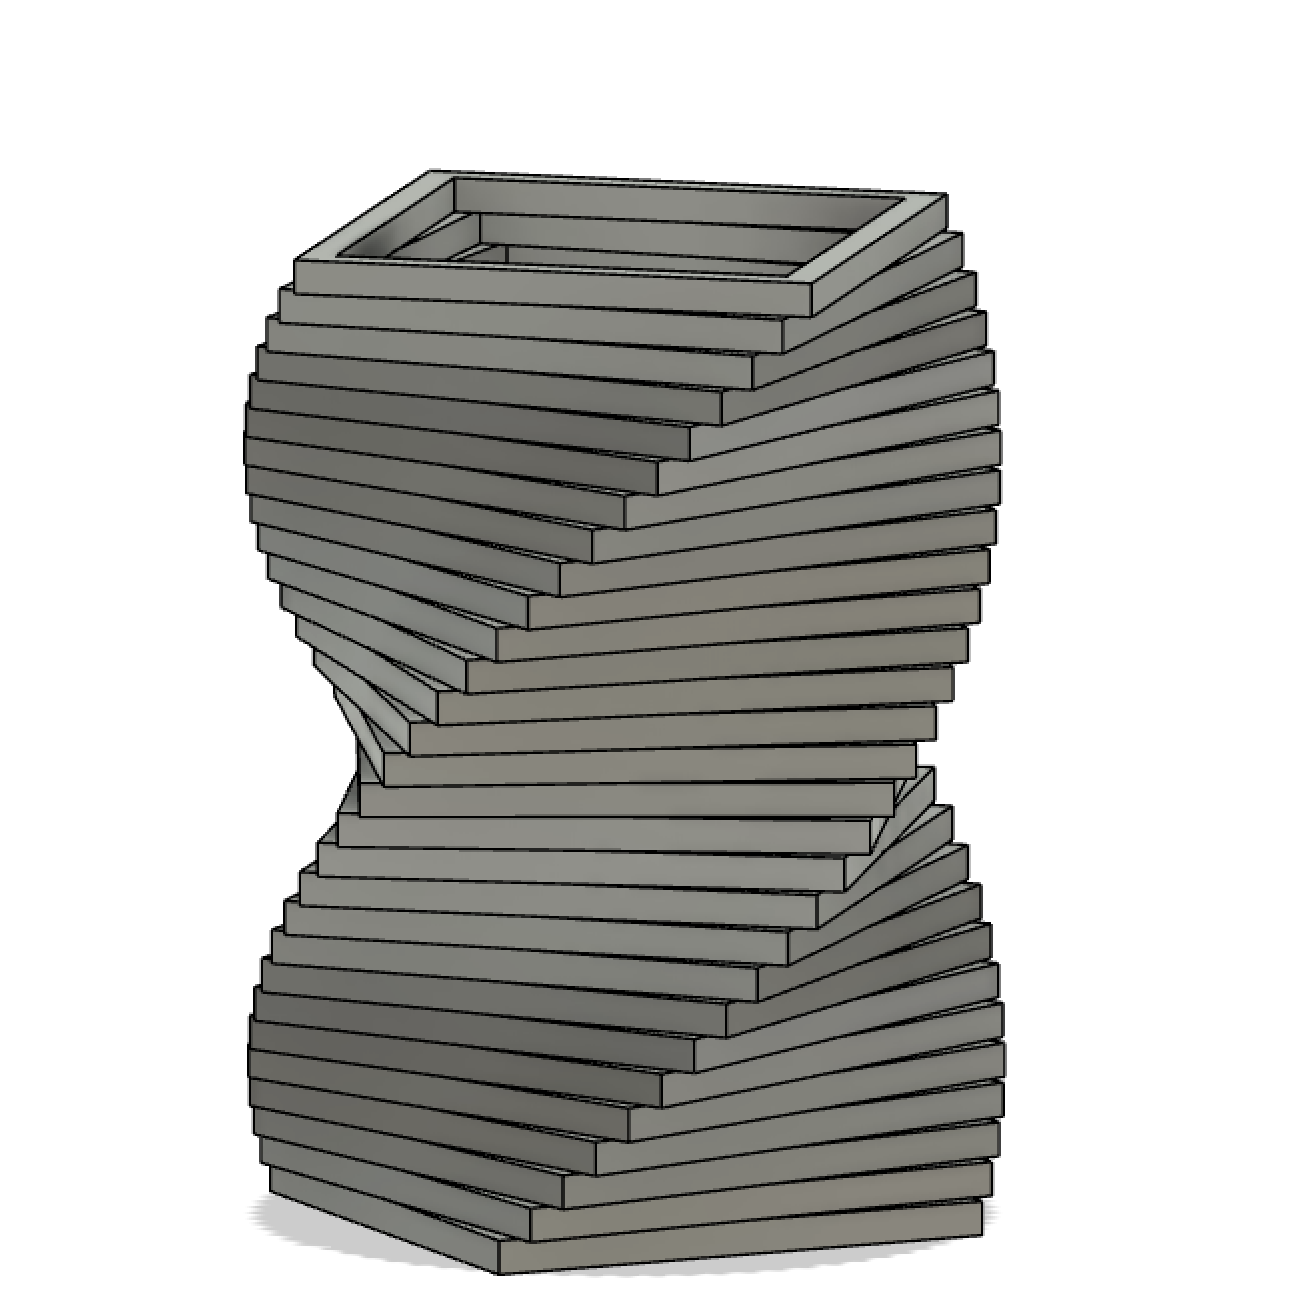
I pressed 'm' in fusion, moved the center of rotation to the centerpoint of my planar sketch, raised the segment by the height of my wall segment parameter, and rotated the wall by my angle parameter. I wanted to complete at least one 90 degree rotation around the center point with my walls to get the full rotation effect, so I continued to copy my walls in larger and larger segments as the wall grew. For example, after this two-part wall was completed, I copied both walls as one entity, rotating and raising both pieces by double the parametrized amounts. With a wall of four segments, i did the same, creating an eight segment wall, etc. Using this method, I built 18 layers of wall (copying the last two segments from the top two segments of my previous copy). Check out my model at the bottom of the page!