Wired and Radio Communication
This week, we learned how to execute programs using multiple microcontrollers. We learned how to connect them with and without wires as the title of this section would imply. I also spent a significant amount of time clarifying my final project idea.
For this week's assignment, I decided to follow the tutorial on the course site and directly connect a potentiometer to a servo across two wired boards such that when I turn the knob of the POT the position of the servo changes accordingly. The wiring was pretty straightforward, where I connected the potentiometer to the Metro M0 and I connected the servo to the Huzzah board. All power lines were fed to the top rail of the breadboard while all ground lines were fed to the second rail. Both were then connected to power and ground from the Metro M0 respectively.
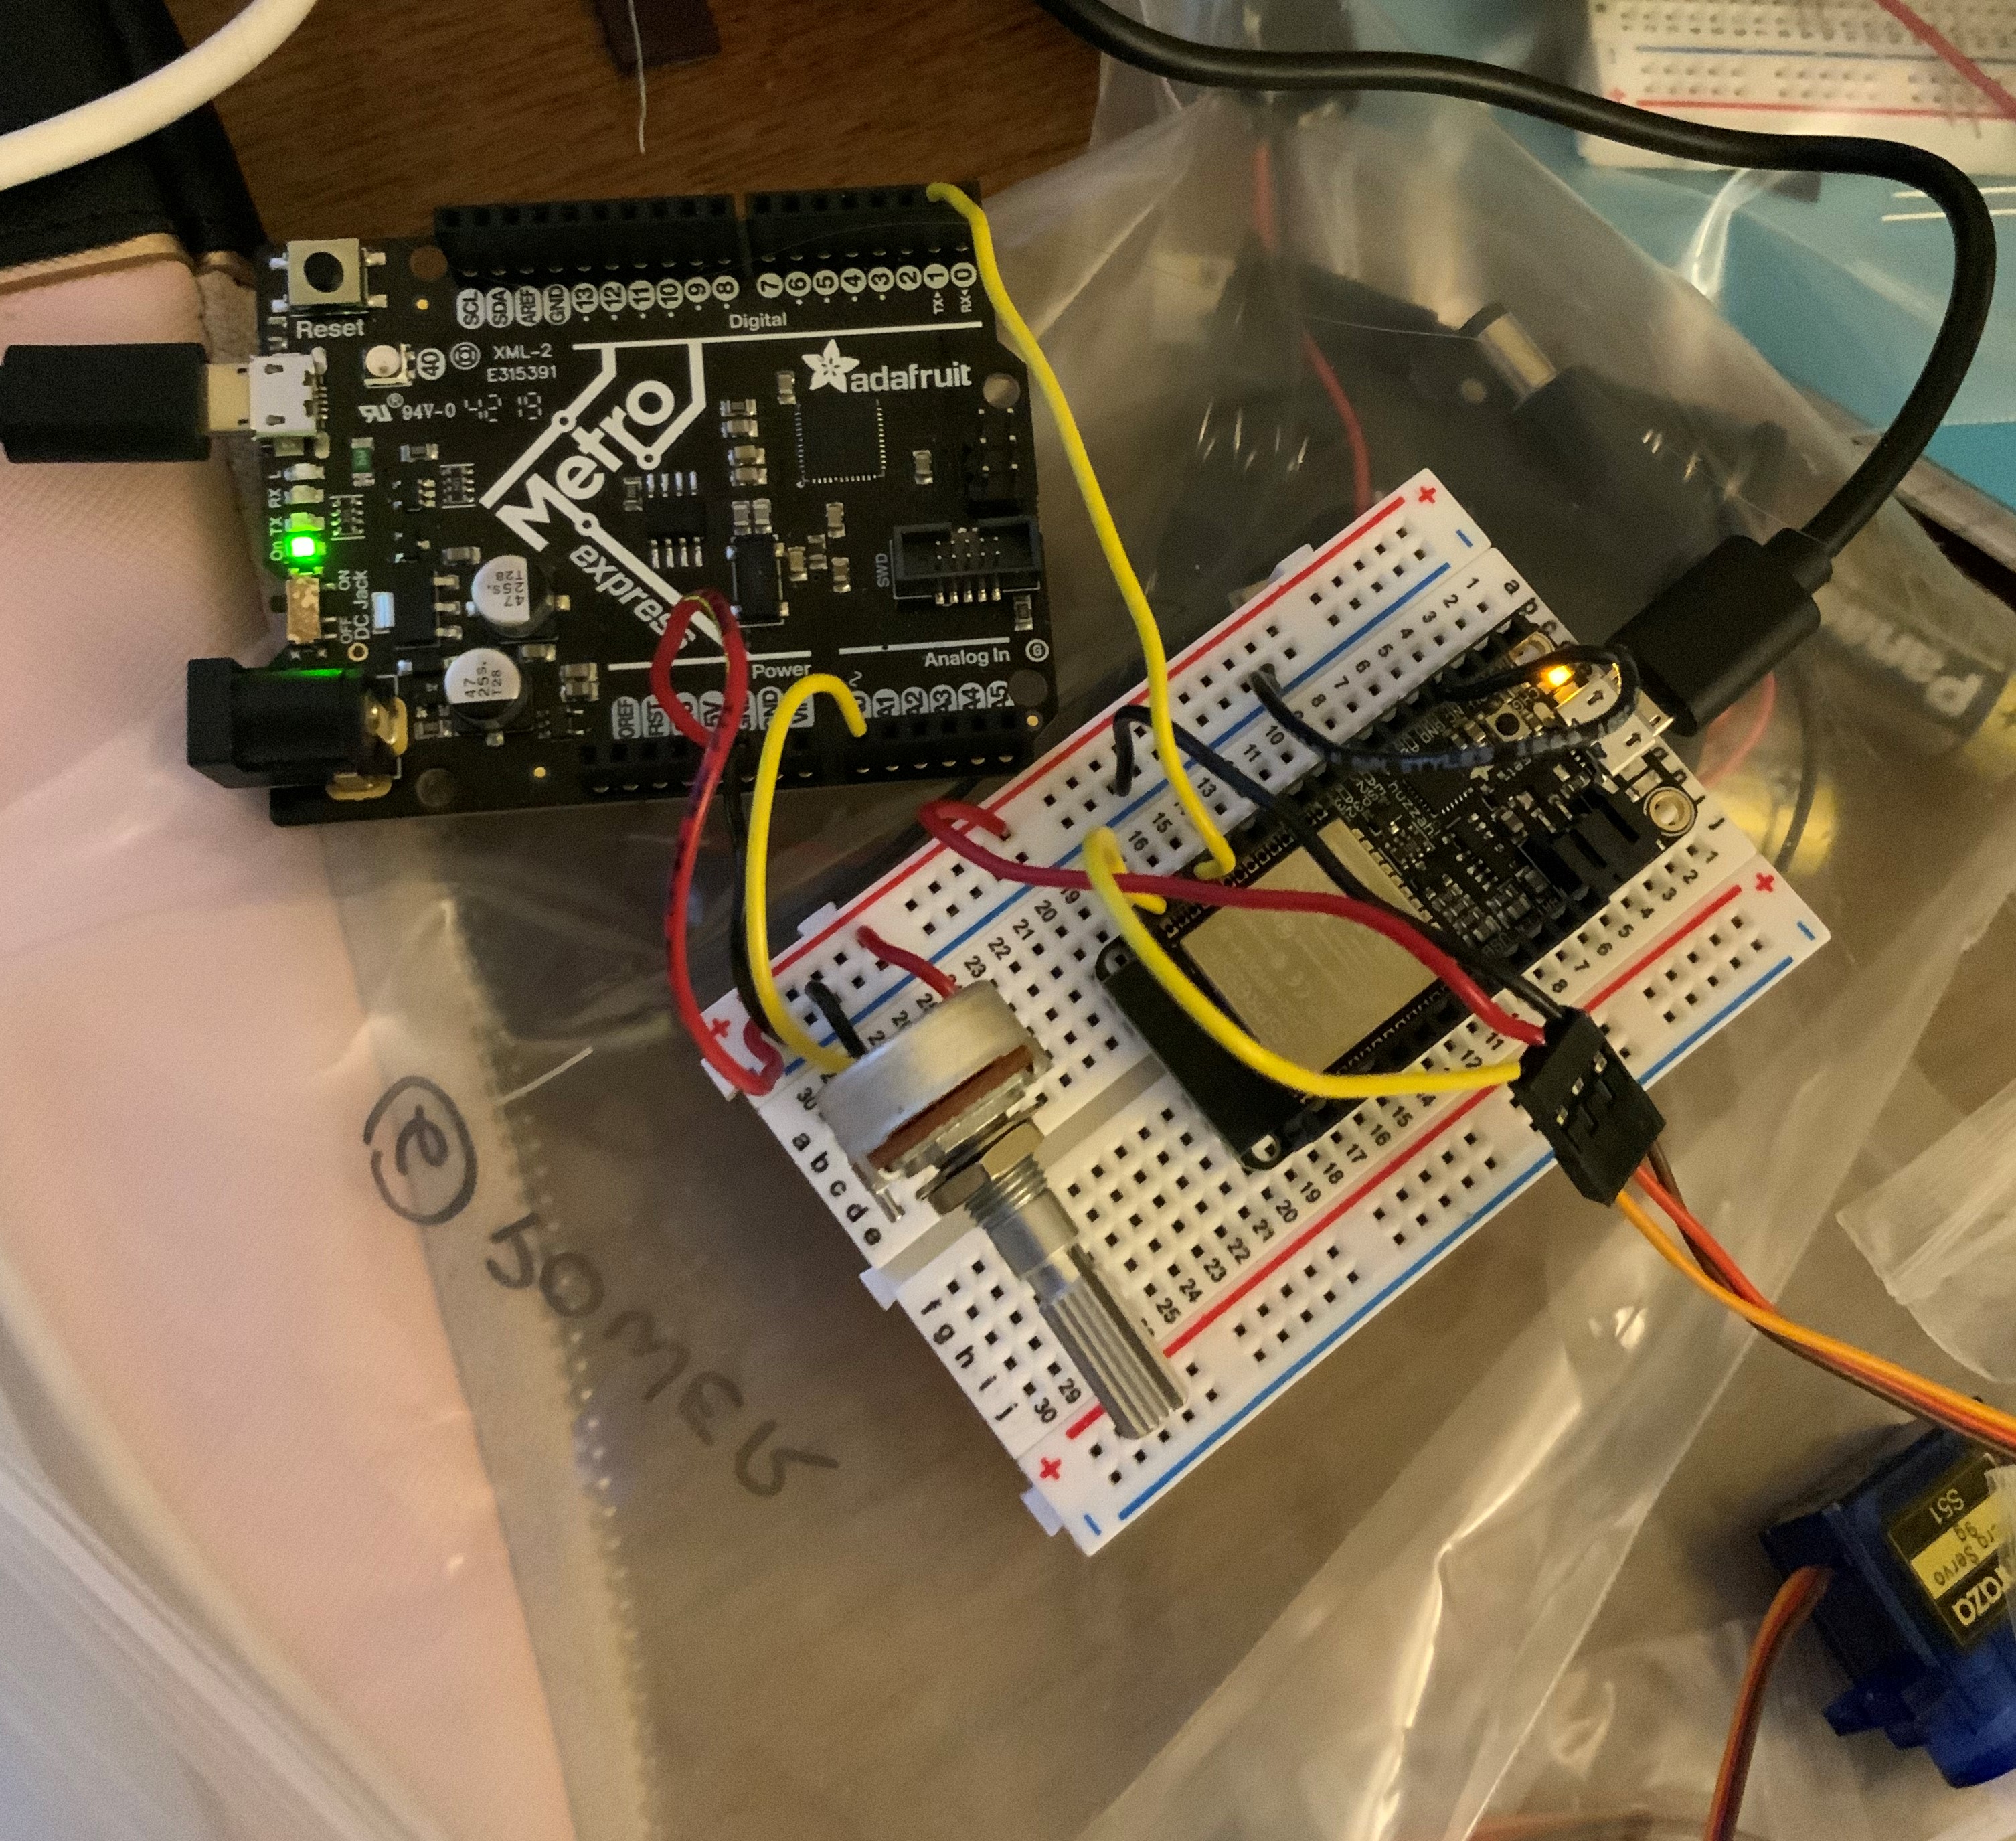
To set everything up, I uploaded the provided code to each board, installing the ESP32servo library after my failed first upload attempt. Then, once I plugged everything in, I got the setup working! I had a little hiccup along the way where I plugged the wrong servo wire into power, but that was a quick fix. I think the result is quite cool, but I wanted to put a bit of my own spin on it! I never got the chance toget my speaker working for the kinetic sculpture in week 3, so I figured that I would use this servo setup to listen to our card tunes! I attached my servo to the hinge and got this little contraption going. It's nice to know that I can listen to my hot dog happy birthday song on command.
//Code to transmit
const int pot_pin = A0;

void setup() {
  Serial.begin(0);
  Serial1.begin(9600);
}

void loop() {
  int pot_value = analogRead(pot_pin);
  Serial.println(pot_value);
  Serial1.write(pot_value/4);
  delay(10);
}
//Code to recieve
#include ESP32Servo.h

Servo myservo;

void setup() {
  myservo.attach(21);
  Serial.begin(9600);
  Serial1.begin(9600);
}

void loop() {
  while (!Serial1.available()) {
  }

  byte rec_byte =  Serial1.read();
  int degree = rec_byte*180/255;
  Serial.println(degree);
  myservo.write(degree);
}
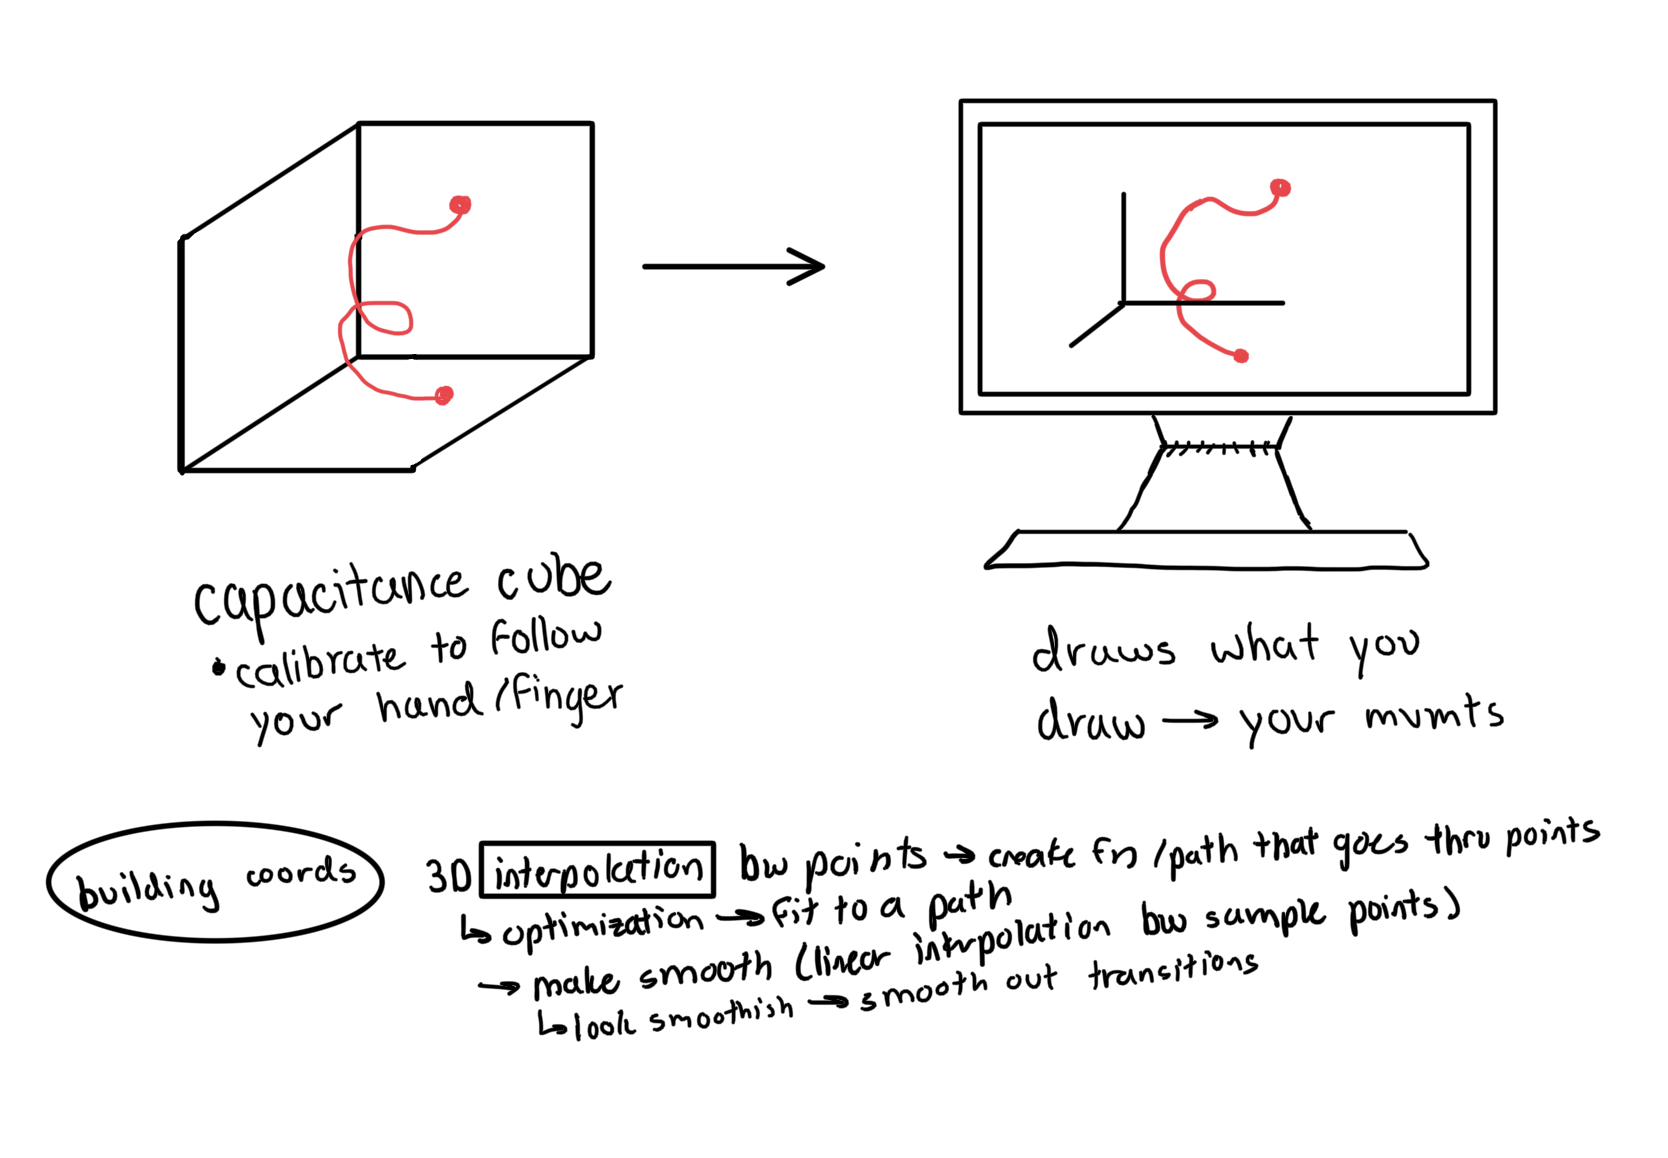
In terms of project progress, I have finally come up with something I am excited about. The thought is to design a capacitance half-cube where I can draw in midair to create 3D models that can then be modified for printing! I've included a schematic with my rough outline of the project. I am also thinking about how I will signal to the cube that I am finished with a drawing / when I am starting a drawing, most likely by using some secondary input or a specific coordinate placement. I look forward to working out more of the hardware work next week!